Are you fascinated by toggle options? Then you are in the right place! In this article, we will see how to create a toggle menu icon using JavaScript.
The bar at the top of your website that, when clicked, toggles the menu open and closed is called the toggle bar. If you want to learn more about use cases for this, you can visit Responsive Navigation Bar using HTML, CSS, and JS.
Various types of toggle switches serve different use cases. For example, on/off toggles are used for switches such as dark mode, accordion toggles are used to show or hide content sections, and dropdown toggles are used to display a list of options that can be expanded or collapsed when clicked.
More such examples include checkbox toggles for filtering or selecting multiple items, radio button toggles for allowing users to choose only one option from a list, button toggles for switching between different modes, slide toggles, and modal toggles.
Table of Contents
Introduction
Want to create a responsive web design? Toggle menu icons are very important when creating responsive designs. They are used to create mobile-friendly designs by organizing the navlinks in a well-organized manner. If you are trying to get site approval for Google AdSense, then this is very important.
Toggles provide a user-friendly interface, instant feedback, enhanced interactivity, and customization options, and they are space efficient. But make sure to avoid overusing them, as they may not be accessible to everyone, especially those with impairments.
If you have basic knowledge, then you can easily create a toggle menu icon using JavaScript. It is an essential skill to learn how to create toggle menus and options for a better user interface and user experience.
Watch the full tutorial on YouTube
Do you prefer watching a tutorial video over reading an article? No worries; you can watch a full tutorial on the Toggle Menu Icon Using JavaScript on my YouTube channel. Later, you can visit again and access the full source code from here, if required. Do subscribe and like the content if you learn something new.
Source code for the Toggle Menu Icon Using JavaScript
Creating the HTML Structure
First, create a file named index.html with the default HTML boilerplate code for the toggle menu icon. Include the Font Awesome CDN to use icons. Font Awesome is the internet’s icon library and toolkit, used by millions of designers, developers, and content creators.
Create a div with the class name ‘toggle’. Inside that div, create an i tag for the font Awesome Bars icon.
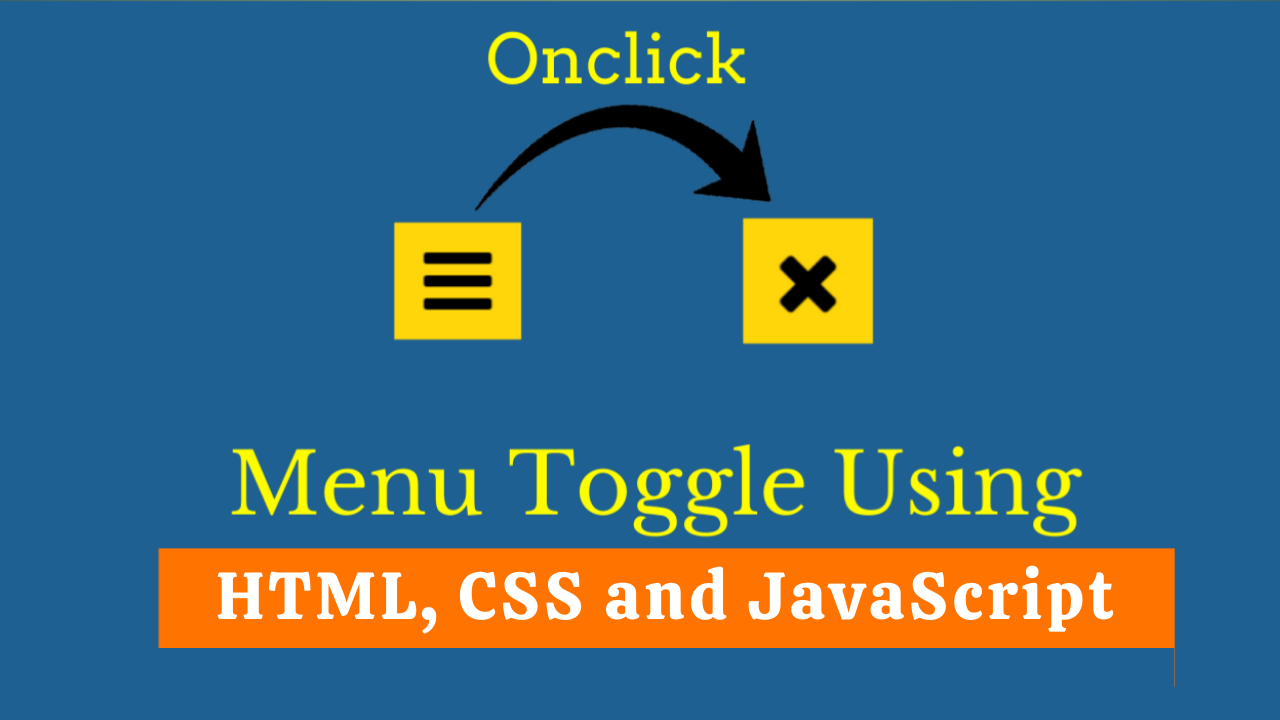
Now create a script section and use DOM manipulation to select the toggle div and i tag. Finally, make an on click function to change the font awesome bars icon to the font awesome times icon.
Copy and paste the following code into the file named index.html:
<!DOCTYPE html>
<html lang="en">
<head>
    <meta charset="UTF-8">
    <meta http-equiv="X-UA-Compatible" content="IE=edge">
    <meta name="viewport" content="width=device-width, initial-scale=1.0">
    <link rel="stylesheet" href="style.css">
    <link rel="stylesheet" href="https://cdnjs.cloudflare.com/ajax/libs/font-awesome/4.7.0/css/font-awesome.min.css">
    <title>Menu Toggle Icon</title>
</head>
<body>

    <div class="toggle"><i class="fa fa-bars"></i></div>

    <script>

        let btn = document.querySelector(".toggle");
        let icon = btn.querySelector(".fa-bars");

        btn.onclick = function (){
            if(icon.classList.contains("fa-bars")){
                icon.classList.replace("fa-bars", "fa-times");
            }
            else{
                icon.classList.replace("fa-times", "fa-bars");
            }
        }
    </script>

</body>
</html>
<span style="font-family: arial;"></span>
Styling with CSS
Create a file named style.css and link it to the HTML. This step is essential; otherwise, the styles will not be applied.
Style the body element to take up the full width and height of the viewport, display as flex, center align-items, justify-content to center, and background as #1e6091.
Then style the toggle div with a background of #ffd60a, a cursor as a pointer, and appropriate padding for extra spacing. Finally, style the i tag to have a font size of 40 pixels with a transition of 0.2 seconds.
Copy and paste the following code into the file named style.css:
*{
    margin: 0;
    padding: 0;
    box-sizing: border-box;
}

body{
    width: 100%;
    height: 100vh;
    display: flex;
    align-items: center;
    justify-content: center;
    background: #1e6091;
}

.toggle{
    background: #ffd60a;
    padding: 10px 15px;
    cursor: pointer;
}

.toggle i{
    font-size: 40px;
    transition: 0.2s;
}
Follow the above steps carefully, and you can create a toggle menu icon using JavaScript. You will get access to the full source code shown in the video by clicking on the button below.
Conclusion
In this article, we saw how to create an amazing menu toggle icon using JavaScript. If you are still stuck somewhere or have any doubts regarding the same, feel free to leave your question in the comment section. I will be happy to help.
Must Visit: Typing Animation using Typed.js
FAQ
What is a toggle bar?
The bar at the top of your website that, when clicked, toggles the menu open and closed is called the toggle bar.
How to toggle a menu icon in JavaScript?
Create a div with the class name ‘toggle’. Inside that div, create an i tag for the font awesome bars icon.
Now create a script section and use DOM manipulation to select the toggle div and i tag. Finally, make an onclick function to change the font awesome bars icon to the font awesome times icon.
How to toggle navbar using JavaScript?
First, create a nav tag, and inside it, create a div with unordered list items for creating the navlinks. Then add appropriate styling to the elements for good visual appeal.
Finally, use DOM manipulation for selecting the bars icon and the nav element, and change the font awesome bars icon to the font awesome times icon.