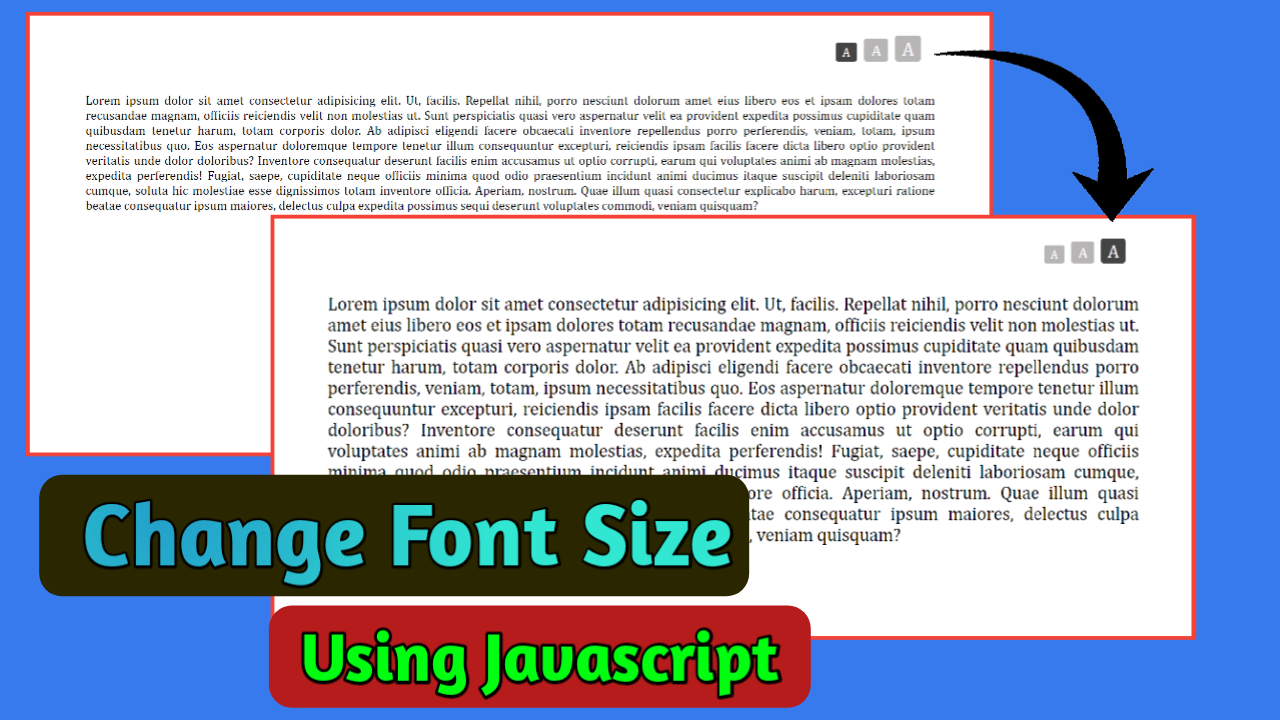
Welcome to Coding Power! In this article, we will learn how to change font size with button using JavaScript. Font size, or text size, is a number that measures the size of characters on a screen, typically expressed in pixels.
Readability is important because it influences how clearly a text can be understood by the reader. You should think from the readers’ perspective. The text should be quicker to read, easier to understand, and easier to retain.
Table of Contents
Introduction
You must have seen these types of buttons on government portals or document editing software like Microsoft Word. They are very useful and provide easy-to-use formatting options. It can act as an accessibility feature for the visually impaired.
Want to rank highly on search engines? Then text clarity and readability play a major role in improving your website’s SEO. Let’s learn how to change font size with button using JavaScript without further delay.
Watch the full tutorial on YouTube
Sometimes watching a video tutorial over reading an article can help you understand the concept easily. If you prefer that, I have created a video on the Change Font Size with Button using JavaScript on my YouTube channel. You can access the full source code here if needed. While you are at it, do subscribe and like the content.
Source code for the Change font size with Button using JavaScript
Creating the HTML Structure
First, create a file named index.html with the default boilerplate code for the HTML.
Create a buttons div inside the container div to hold all the buttons to change font size with a button using JavaScript. Also, create a p tag inside the div with the class name ‘text’.
Finally, create a script section and make a function called font change that takes a single parameter and changes the font size of the paragraph using DOM manipulation. Use a loop to add an event listener to all the buttons to change the active button.
Refer to the following code and paste it into a file named index.html:
<!DOCTYPE html>
<html lang="en">
<head>
    <meta charset="UTF-8">
    <meta http-equiv="X-UA-Compatible" content="IE=edge">
    <meta name="viewport" content="width=device-width, initial-scale=1.0">
    <link rel="stylesheet" href="style.css">
    <title>Font Size Change</title>
</head>
<body>

    <div class="container">
        <div class="buttons">
            <button type="button" class="button active" onclick="fontchange(18)">A</button>
            <button type="button" class="button" onclick="fontchange(23)">A</button>
            <button type="button" class="button" onclick="fontchange(27)">A</button>
        </div>
        <div class="text">
            <p id="para">Lorem ipsum dolor sit amet consectetur adipisicing elit. Nisi laboriosam id, corporis, iure necessitatibus dolorem quaerat ab unde veritatis voluptates architecto. In cum sint ad vitae! Voluptate eligendi vitae vel quia dolore ipsa, enim totam soluta molestiae, impedit pariatur libero. Fugiat voluptatem corrupti consequuntur maxime aut fugit qui ex, tempora aperiam, facilis minima totam quia possimus et! Ullam consequatur iusto excepturi deserunt neque sint dolore aut, porro iure architecto veniam magnam voluptatem vel. Quia veritatis, ab quisquam explicabo doloremque atque iusto et! Voluptatum, mollitia pariatur? Officia unde minus expedita, reprehenderit fuga ex obcaecati dolores sapiente voluptatibus quos eius maxime, vitae commodi cupiditate pariatur et sed officiis consectetur eveniet. Porro quidem illo dolorem ut rerum id molestiae! Optio, et in a itaque fugit repellendus, nobis laborum natus tempora neque aliquid maxime quibusdam perspiciatis velit necessitatibus! Iure repellat, fuga deleniti quae veniam alias necessitatibus deserunt, voluptas dolorem labore laborum explicabo excepturi quas.</p>
        </div>
    </div>

    <script>

        function fontchange(n){
            var paragraph = document.getElementById('para');
            paragraph.style.fontSize = n + "px";
        }

        var buttons = document.querySelector(".buttons");
        var button = buttons.querySelectorAll(".button");

        for(var i = 0; i < button.length; i++){
            button[i].addEventListener('click', function(){
                var current = document.getElementsByClassName('active');
                current[0].className = current[0].className.replace("active", "");
                this.className += " active"
            })
        }
    </script>

</body>
</html>
Styling with CSS
For styling, create a new file named style.css and add a style link to the HTML head to link to the CSS file. If you miss that, then CSS will not work for any HTML class or element, so make sure of that first.
Make sure that all elements have a margin and padding set to 0 pixels, with a box-sizing of border-box and a font family of Cambria.
Now, style the container div to have a relative positioning with appropriate padding for extra spacing.
Then I style the div with the class name ‘buttons’ to have absolute positioning, display as flex, align-items as flex-end, and justify-content as flex-end.
Style the button to have an inline-block display, background as rgb (184, 181, 181), color as white, no border or outline, a border radius of 4 pixels, a font size of 18 pixels, and a pointer cursor. Change the font size of the 2nd button to 23 pixels and the 3rd button to 27 pixels.
Give appropriate padding and margin to all the divs for extra spacing. Finally, style the active button to have a background of #444 and the paragraph element to have a font size of 18 pixels, text aligned as justified, and a transition of 0.2 seconds.
Refer to the following code and paste it into a file named style.css:
*{
    margin: 0;
    padding: 0;
    box-sizing: border-box;
    font-family: Cambria, Cochin, Georgia, Times, 'Times New Roman', serif;
}

.container{
    padding: 2rem 5rem;
    position: relative;
}

.container .buttons{
    width: 100%;
    position: absolute;
    right: 100px;
    top: 30px;
    display: flex;
    justify-content: flex-end;
    align-items: flex-end;
}

.container .buttons .button{
    padding: 3px 10px;
    margin-left: 10px;
    display: inline-block;
    background: rgb(184, 181, 181);
    color: white;
    border: none;
    outline: none;
    border-radius: 4px;
    font-size: 18px;
    cursor: pointer;
}

.container .buttons .button:nth-child(2){
    font-size: 23px;
}

.container .buttons .button:nth-child(3){
    font-size: 27px;
}

.container .buttons .active{
    background: #444;
}
.container .text{
    margin: 5rem 0;
}

.container .text p{
    text-align: justify;
    font-size: 18px;
    transition: 0.2s;
}
After following the above steps, you can easily create the YouTube home page using HTML and CSS. You can access the full source code with images in the video tutorial by clicking the below button.
Conclusion
Now that we have learned how to change font size with buttons using JavaScript if you still have any doubts regarding it, feel free to leave your questions in the comment section. I will be happy to clarify them as soon as possible.
Now I encourage you to incorporate this design into your own website with some other features such as bold, italic, or underline.
See Also: Toggle Menu Icon Using JavaScript
FAQ
How to change font size dynamically in JavaScript?
Create a script section and make a function called font change that takes a single parameter and changes the font size of the paragraph using DOM manipulation.
Additionally, use a loop to add an event listener to all the buttons to change the active button.
What font property is used to modify font size in CSS?
The font-size CSS property sets the size of the font. It affects the size of the text of an element. Its default value is medium and can be applied to every element.