Do you want to create the perfect image slider using HTML, CSS, and JavaScript? Then you are at the right place! In this article, we will create the best slider, which will improve the user interface and interaction.
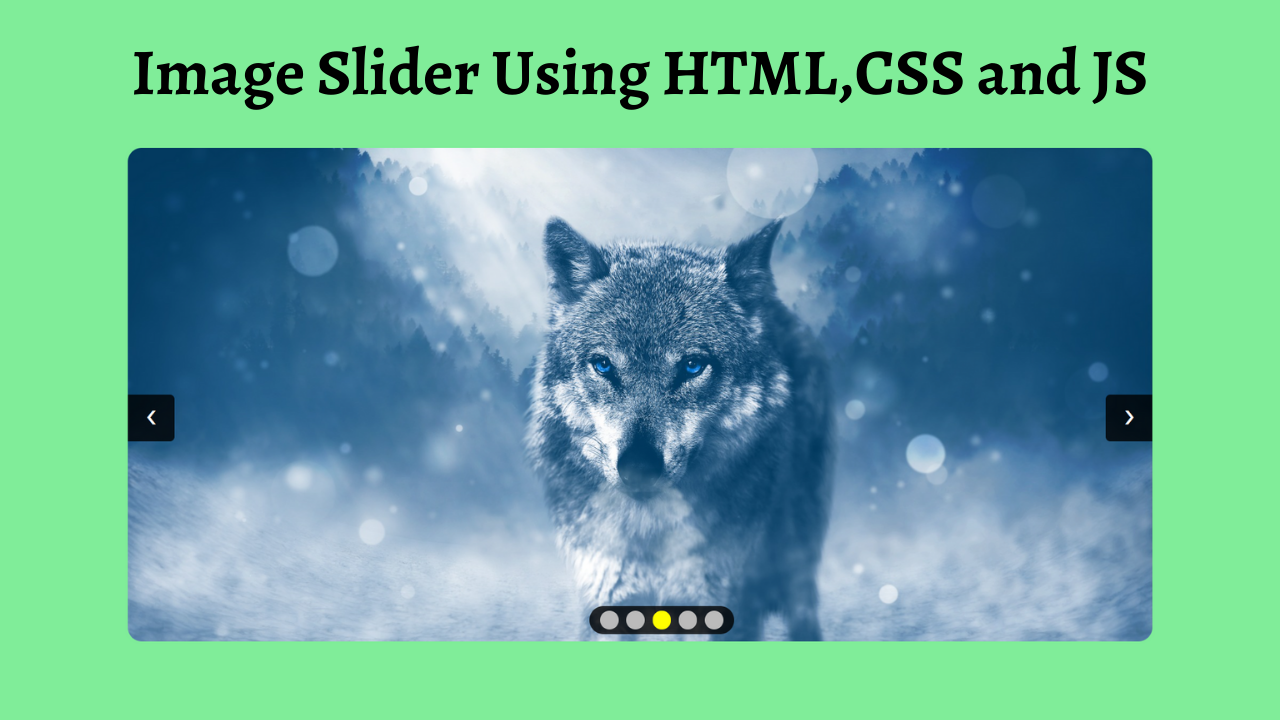
An Image Slider is an animated element used to display images on a website. Like a slideshow, It shows one image at a time. The content changes when visitors click to see the next slide, or it changes automatically after a few seconds.
Table of Contents
Introduction
Image sliders can be an important element if you are trying to create a design portfolio or an art gallery. They not only improve the user interface but also the user experience, which in turn increases user retention. This will also help you rank high on search engines.
Now, without delay, let us start creating the best image slider using HTML, CSS, and JavaScript. You can even try out new responsive image slider designs and incorporate them into your website.
Watch the full tutorial on YouTube
Sometimes, watching a video tutorial rather than reading an article can help you understand the concept easily. If you prefer, I have created a video on an Image Slider Using HTML, CSS, and JavaScript on my YouTube channel. You can access the complete source code here if needed. While you are at it, do subscribe and like the content.
Source code for the Image Slider Using HTML, CSS, and JavaScript
Creating the HTML Structure
Start by creating an index.html file with the default HTML boilerplate code for the image slider.
Create a div with the class name ‘container’ which holds multiple divs with the class name ‘images’, a div with the class name ‘button’, and a div with the class name ‘dots’. The button div contains two <a> tags with the class name ‘prev’ and ‘next’ with the onclick attribute.
The dots div contains multiple spans with the class name ‘dot’ and the onclick attribute. Now, create a script section with a variable named imageno initialized to 1. The displayimg function is created, which accepts a parameter ‘n’ to handle the image display logic.
Then, create a function named nextimg, which accepts a parameter ‘n’ and calls the displayimg function by passing the imageno icremented by ‘n’.
Finally, create a function named currentimg, accepts a parameter ‘n’ and calls the displayimg function by passing the imageno initialized to ‘n’.
Refer to the following HTML code and paste it into the file named index.html:
<!DOCTYPE html>
<html lang="en">
<head>
    <meta charset="UTF-8">
    <meta http-equiv="X-UA-Compatible" content="IE=edge">
    <meta name="viewport" content="width=device-width, initial-scale=1.0">
    <link rel="stylesheet" href="style.css">
    <title>Image Slider</title>
</head>
<body>

    <div class="container">
        <div class="image">
            <img src="images/img-1.jpg" alt="">
        </div>
        <div class="image">
            <img src="images/img-2.jpg" alt="">
        </div>
        <div class="image">
            <img src="images/img-3.jpg" alt="">
        </div>
        <div class="image">
            <img src="images/img-4.jpg" alt="">
        </div>
        <div class="image">
            <img src="images/img-5.jpg" alt="">
        </div>

        <div class="button">
            <a onclick="nextimg(-1)" class="prev">❮</a>
            <a onclick="nextimg(1)" class="next">❯</a>
        </div>

        <div class="dots">
            <span class="dot" onclick="currentSlide(1)"></span>
            <span class="dot" onclick="currentSlide(2)"></span>
            <span class="dot" onclick="currentSlide(3)"></span>
            <span class="dot" onclick="currentSlide(4)"></span>
            <span class="dot" onclick="currentSlide(5)"></span>
        </div>
    </div>

    <script>

        var imageno =1;
        displayimg(imageno);

        function nextimg(n){
            displayimg(imageno += n)
        }

        function currentSlide(n){
            displayimg(imageno = n)
        }

        function displayimg(n){
            var i;
            var image = document.getElementsByClassName("image");
            var dots = document.getElementsByClassName("dot");

            if(n > image.length){
                imageno = 1;
            }

            if(n < 1){
                imageno = image.length;
            }

            for(i=0; i < image.length; i++){
                image[i].style.display = "none";
            }

            for(i=0; i < dots.length; i++){
                dots[i].className = dots[i].className.replace(" active", "");
            }

            image[imageno - 1].style.display ="block";
            dots[imageno - 1].className += " active";

        }

    </script>
</body>
</html>
Styling with CSS
Create a file named style.css and link this stylesheet to HTML code. This is a crucial step; otherwise, the styles will not be applied.
Style the body element to take up the entire width and height of the viewport with a flex display, centered align-items, centered justify-content, and a background of #80ed99. Then, style the container div to have a relative position.
The image div is styled to have no display, and the img element has a hidden overflow with a border radius of 15 pixels and an object-fit of cover. Now, the button div is styled to have an absolute position with a flex display, a justify-content of space-between, and a z-index of 5.
Style the <a> tag to have a centered text alignment with a line height of 40 pixels, a middle vertical alignment, centered align-items, a pointer cursor, a font size of 20 pixels, white colored text, and a background of rgba (0, 0, 0, 0.8).
Finally, the button navigation has an appropriate border-radius, and the dots div is styled to have an absolute positioning with centered text alignment, a border radius of 15 pixels, and a rgba background (0, 0, 0, 0.8).
Also, the dot span is styled to have a pointer cursor, an inline-block display with a border radius of 50%, a background of #bbb, and a pointer cursor. The active dot and hovered dot are styled to have a yellow background.
Copy and paste the following CSS code into the file named style.css:
*{
    margin: 0;
    padding: 0;
    box-sizing: border-box;
}

body{
    width: 100%;
    height: 100vh;
    display: flex;
    align-items: center;
    justify-content: center;
    background: #80ed99;
}

.container{
    width: 80%;
    height: 80vh;
    margin: auto;
    position: relative;
}

.container .image{
    display: none;
}

.container .image img{
    width: 100%;
    height: 80vh;
    object-fit: cover;
    border-radius: 15px;
    overflow: hidden;
}

.container .button{
    position: absolute;
    top: 50%;
    left: 0;
    width: 100%;
    display: flex;
    justify-content: space-between;
    z-index: 5;
}

.container .button a{
    width: 40px;
    height: 40px;
    text-align: center;
    line-height: 40px;
    vertical-align: middle;
    align-items: center;
    cursor: pointer;
    color: white;
    background: rgba(0, 0, 0, 0.8);
    font-size: 20px;
    user-select: none;
}

.container .button .prev{
    border-radius: 0 5px 5px 0;
}

.container .button .next{
    border-radius: 5px 0 0 5px;
}

.dots{
    text-align: center;
    position: absolute;
    bottom: 8px;
    left: 45%;
    background: rgba(0, 0, 0, 0.8);
    padding: 5px 10px;
    height: 30px;
    border-radius: 15px;

}

.dot{
    cursor: pointer;
    height: 20px;
    width: 20px;
    border-radius: 50%;
    background: #bbb;
    display: inline-block;
    margin: 0 2px;
}

.active, .dot:hover{
    background: yellow;
}
After following the above steps, you can easily create a perfect image slider using HTML, CSS, and JavaScript. The video tutorial’s complete source code with images can be accessed by clicking the button below.
Conclusion
Following simple steps, we have successfully created a fantastic image slider using HTML, CSS, and JavaScript. Now, it’s your turn to experiment and add additional features to your image slider.
Are you still having doubts about it, or are you stuck anywhere? No worries; feel free to leave your questions in the comment section, and I will answer them as soon as possible.
See Also: Best Sticky Navigation Bar Using HTML, CSS, and JavaScript
FAQ
How to make image slider using HTML, CSS, and JavaScript with manual button navigation?
To make an image slider using HTML, CSS, and JavaScript, create a button div that contains two <a> tags with the class name ‘prev’ and ‘next’ with the onclick attribute.
Also, create the dots div that contains multiple spans with the class name ‘dot’ and the onclick attribute. Finally, use JavaScript to handle the onclick logic.
How to make a responsive image slider using HTML, CSS, and JavaScript?
To make a responsive image slider using HTML, CSS, and JavaScript, you can use the Swiper package or custom HTML and CSS to create and style the next and previous arrows and the dots.